
We all have that huge bag of plastic beads that we've been saving since childhood...right? No? Well, I do. It's been sitting on the shelf for a few years while I tried to think of something to do with it and I finally found something!!

The idea is a banner. I hung pictures from mine, but you could do cute little animal cut outs, or pom poms, the possibilities are endless. Anyways, here's what you'll need.

The supplies varies based on what your desired outcome, but here's what I used:
- card stock printed paper
- plastic beads
- pictures
- scissors
- a paper cutter
- ribbon and yarn
- some twine or hemp
- a glue stick
- a hole puncher

1. Choose your pictures.

2. Outline where you want to cut the paper by using a pencil and the picture for the outline. Be sure to leave room for the hole punching on the card stock!

3. Cut on the lines, you can use scissors, but it's much faster and more accurate to use a paper cutter.

4. Glue your picture to your card stock and then punch some holes in the top of the card stock.

5. String some ribbon through the holes. I found it best to use two holes for this because then it's easier to make the picture level.
Also, feel free to get creative with the holes, here are a few that I did:

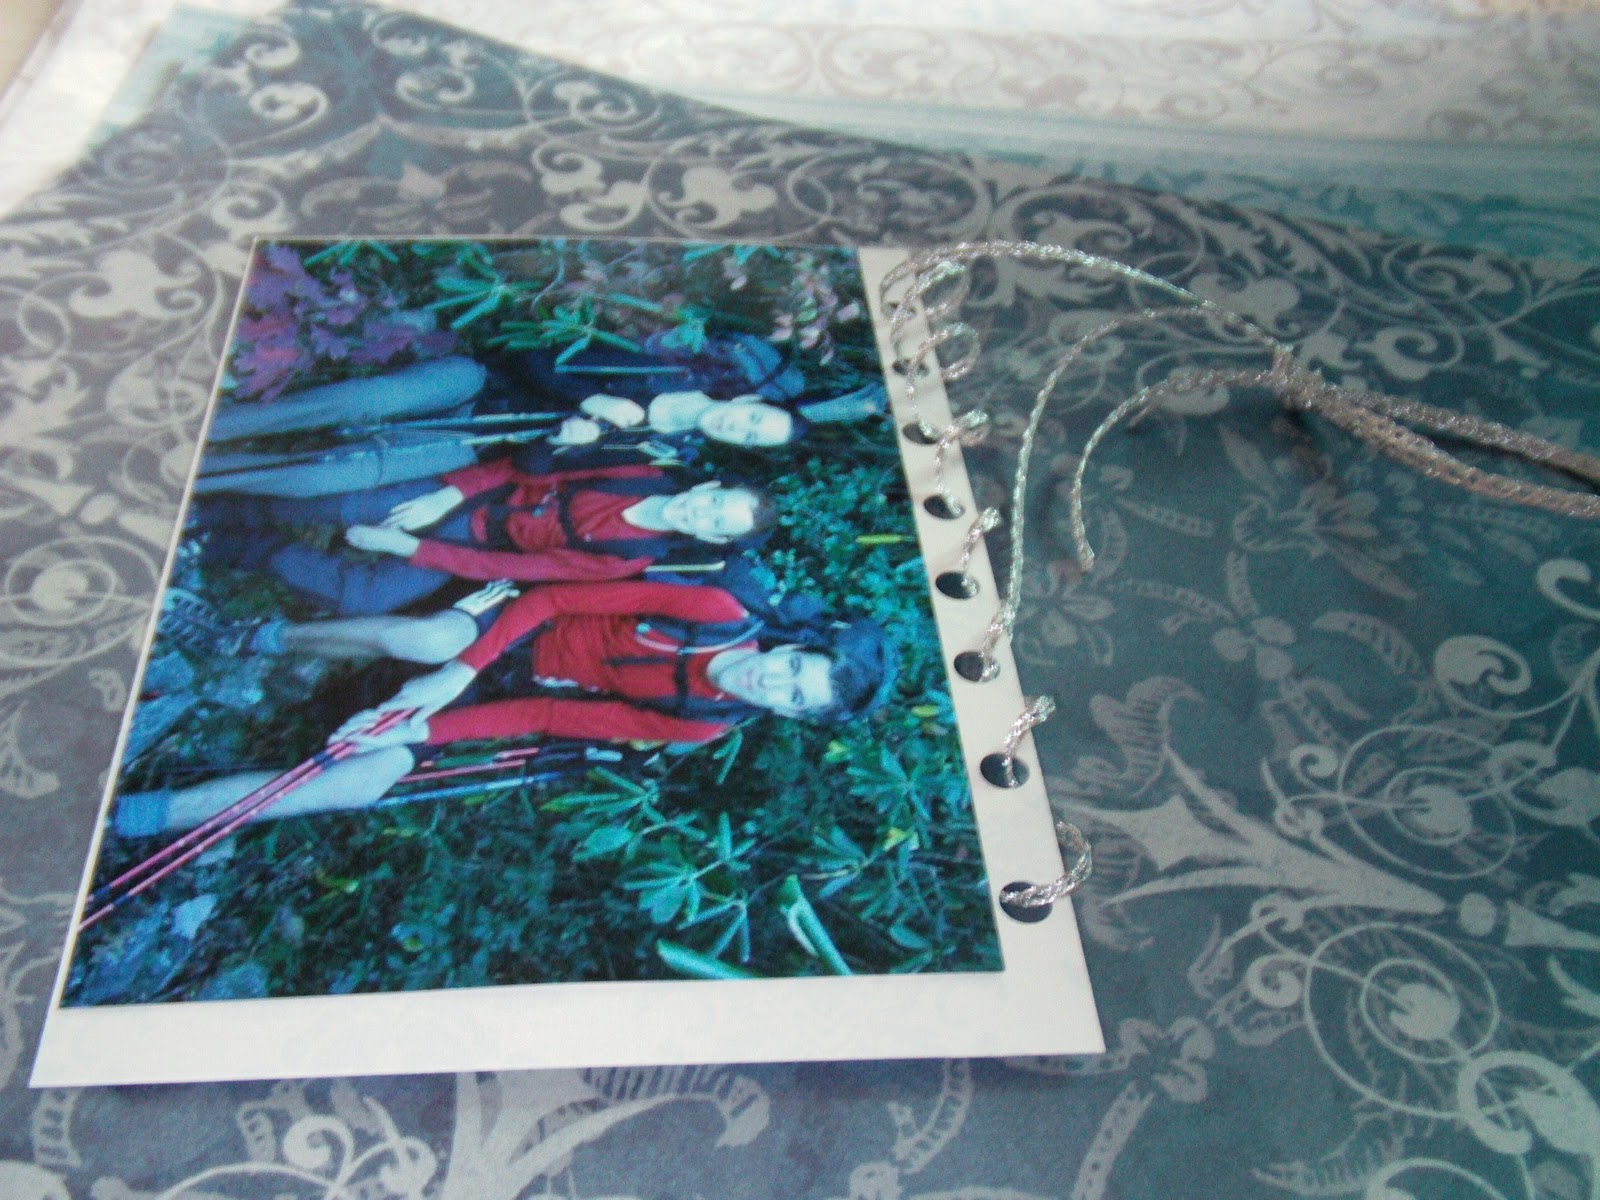

You get something like this^ when you're done.

6. Grab your twine and measure the length that you want, and then add a few extra inches.

7. Grab your giant bag of plastic beads, and then do a few finger exorcises...these next few steps take awhile.

8. Take one end of the string, and leave a bout 5 inches. Then tie a bead onto the end so it won't move, this will be the ending bead so all of the beads you're about to put on this string do not fall off.

9. Start stringing the beads. Feel free to take a break for coffee or tea every few minutes, this step can be repetitive.

10. Once you've finished stringing the beads grab a hammer and a few nails and hang your banner! Don't forget to add some pictures!


This is the end finish, as you can see I used three nails so the swag wasn't so big because I had to avoid some curtains on the other end of my wall. I hope you all enjoy this, it looks so cute!!
xoxo...Jaimie
This is a great idea! I love seeing what you come up with, and enjoy your blog! Ms. Joene
ReplyDelete@Anonymous
ReplyDeleteThanks Ms. Joene. I'm glad you like it!