Showing posts with label DIY. Show all posts

Saturday, October 29, 2011

A Banner


     We all have that huge bag of plastic beads that we've been saving since childhood...right? No? Well, I do. It's been sitting on the shelf for a few years while I tried to think of something to do with it and I finally found something!!


     The idea is a banner. I hung pictures from mine, but you could do cute little animal cut outs, or pom poms, the possibilities are endless. Anyways, here's what you'll need.


     The supplies varies based on what your desired outcome, but here's what I used:
  • card stock printed paper
  • plastic beads
  • pictures
  • scissors
  • a paper cutter
  • ribbon and yarn
  • some twine or hemp
  • a glue stick
  • a hole puncher
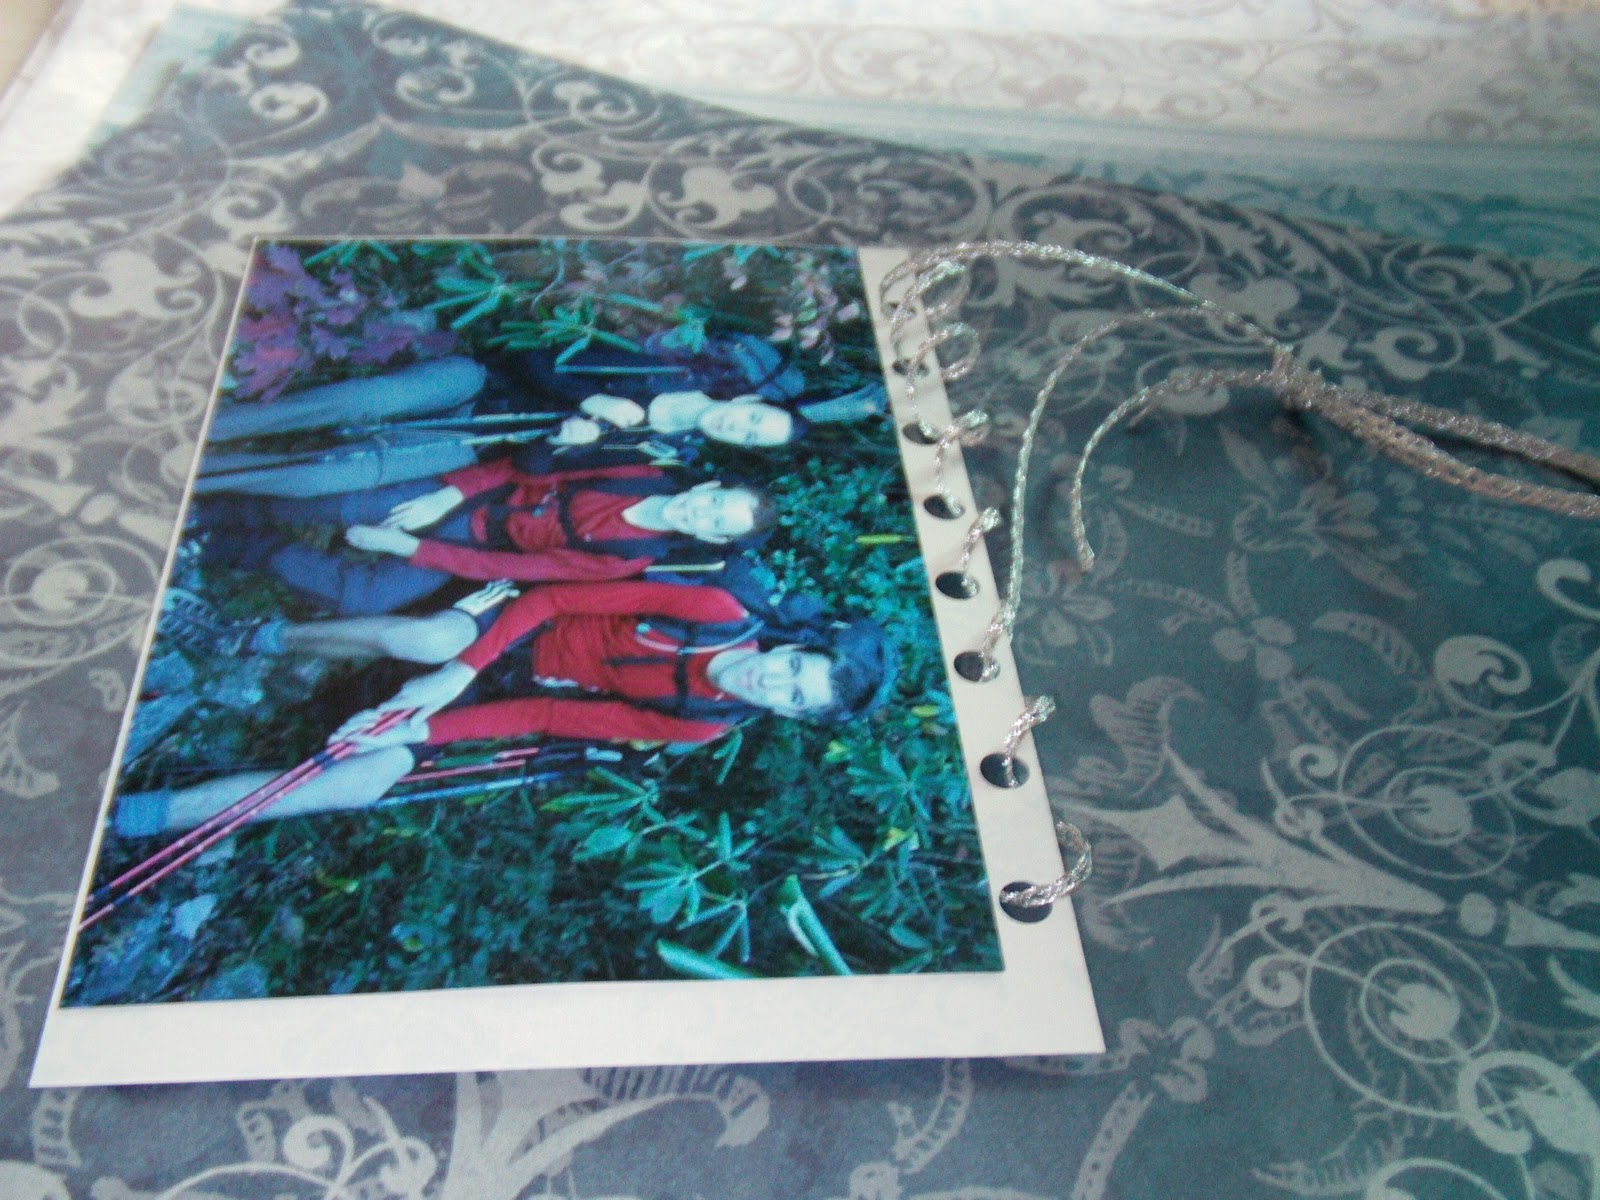
     The first thing to do is get your pictures ready. Something that I've experienced is that pictures bend when they haven't been reinforced a tad, so I put mine on some printed card stock to keep the pictures from warping.


     1. Choose your pictures.


     2. Outline where you want to cut the paper by using a pencil and the picture for the outline. Be sure to leave room for the hole punching on the card stock!


   3. Cut on the lines, you can use scissors, but it's much faster and more accurate to use a paper cutter.


     4. Glue your picture to your card stock and then punch some holes in the top of the card stock.


     5. String some ribbon through the holes. I found it best to use two holes for this because then it's easier to make the picture level.
     Also, feel free to get creative with the holes, here are a few that I did:


     You get something like this^ when you're done.     


     6. Grab your twine and measure the length that you want, and then add a few extra inches.


     7. Grab your giant bag of plastic beads, and then do a few finger exorcises...these next few steps take awhile.


     8. Take one end of the string, and leave a bout 5 inches. Then tie a bead onto the end so it won't move, this will be the ending bead so all of the beads you're about to put on this string do not fall off.


     9. Start stringing the beads. Feel free to take a break for coffee or tea every few minutes, this step can be repetitive. 


     10. Once you've finished stringing the beads grab a hammer and a few nails and hang your banner! Don't forget to add some pictures!


     This is the end finish, as you can see I used three nails so the swag wasn't so big because I had to avoid some curtains on the other end of my wall. I hope you all enjoy this, it looks so cute!!

xoxo...Jaimie

Thursday, October 13, 2011

Tissue paper pom poms


Step 1. Get your supplies! You will need the following:

  • scissors
  • floral wire
  • wire cutters
  • some pretty tissue paper
  • creativity!!
Step 2. Using six sheets of tissue paper stacked on top of each other fold up your tissue paper like you would if you were making a paper fan.

Step 3. Cut a piece of floral wire 6-9 inches long

Step 4. Wrap the wire around your tissue paper, but make sure the paper stays flat!!

Step 5. Scallop the edges of your tissue paper with scissors to make them round, or you could make them pointy!

Step 6. Spread out your folded tissue paper so it looks like a flower and then begin pulling up the layers one by one.

Step 7. Continue step six^ until you've pulled out all of the layers, and you're done!


Enjoy your tissue paper pom poms! xoxo...Jaimie
P.S. to make smaller pom poms cut your tissue paper in half!


Tuesday, October 11, 2011

10 Things I Love

1. This DIY for floral suitcases! Sooo cute!!

2. Starbucks' caramel apple cider...to die for!!!

3. This lace scarf DIY, I'm going to make one!

4. Pumpkin pie milkshakes, looks yummy!

5. Pumpkin pie, especially with whipped cream and extra cinnamon! 

6. Doctor Who, I quite love this show!

7. Snowboarding, it's a pretty great thing.

8. Friends. Can't live without 'em!

9. Doing well in school, it's always fun to get a test back and see that you passed!!

10. Flying kites. It's quite freeing to hold onto a string that's floating above you.

xoxo...Jaimie

Wednesday, October 5, 2011

10 Things I love

So, in honor of starting a new year in my life I've decided to start focusing on the positive things more, not that I'm not already an optimistic person, I just thought this was a fun idea! So, here goes.

1. Sister love...it's an amazing thing.


2. This awesome pumpkin bread recipe! 
{found here}


3. Teacup Cupcakes...sooo cute!!


4. This DIY for vellum luminaries, seriously want to
make one!
{Instructions and such}


5. This camera, so cute!!


6. DIY for this woven chain bracelet, if anyone knows of some chunky silver
or brass chain like this, let me know!!
{Instructions and such}


7. This "hair bow!" It's adorable!!
{Instructions and such}


8. I seriously love this fishtail braid. I wish my hair was long enough!!
{Instructions and such}


9. This just makes me want to write...beautiful.
{Photo credit}


10. These Double Orange Scones, they look sooo yummy!!


Happy fall guys!!
xoxo...Jaimie